Meditation practice is about focusing. Whether you watch your breath, scan your body, imagine energy flows, or concentrate on external objects, you don't want to lose that focus. However, our bodies aren't always happy to stay still, even for several minutes. Your lower back can get tired, your legs can get numb, and your sitting bones can start hurting.
We feel you and hope this article will help you find the most comfortable meditation pose for your body.
15 Awesome Meditation Poses to Stay Focused
A meditation position can either help you achieve the goal of your meditation practice or take you away from it. If you imagine how the energy goes up from your tailbone through your spine with every inhale and moves down from your head as you breathe out, sitting meditation might be the best.
But if you want to scan your muscles to relax, the lying-down meditation will probably work better than the standing meditation or sitting with your legs crossed. In addition, some of us have health issues and have to consider alternatives to classic meditation stances. For example, minor knee pain won't allow you to sit in the quarter lotus pose.
We classified the meditation positions into four groups: standing, on-chair, sitting, and lying. So these poses don't go in the order of comfort or helpfulness. You'll also find an example of how you can meditate in each posture, but that's only a recommendation. Listen to your body, trying to balance the muscle tension in your meditative stance.
Standing meditation positions
For many of us, meditation while standing sounds as challenging as sleeping while standing. Still, qigong masters say that upright meditation postures relax our bodies and improve our mental health. So the first meditation pose on our list of standing postures is from these Chinese practitioners.
#1 Qigong Standing Tree meditation
Stand tall with your feet shoulder-width apart and knees bent a little. Keep your feet flat and parallel. Keep your spine straight but not tense and your abdomen relaxed. Don't move your pelvis forward. Your arms should hang loosely for a few seconds at the preparatory stage. Then raise them rounded to the belly, chest, or face level. Imagine that you're embracing a big tree.
Keep your eyes open and look forward without focusing on any object. Breathe naturally, feeling how your abdomen expands and retracts. And every time your mind starts wandering, return your focus to breathing. Feel how you become a tree with your legs going deeper into the ground and getting energy from the Earth.
Imagine that your head turns into the tree crown and is ready to absorb the sunlight and the energy of the sky. Watch how you're inhaling and exhaling. Lower your arms as you finish and start moving. Try to practice the Standing Tree Exercise daily, staying in this meditation position for 5 minutes. Grow this time gradually to practice this posture for 20-40 minutes.
#2 Simple standing pose
This pose is similar to the previous upright position, except for your arms—you don't have to raise them. Let your arms hang naturally with your palms facing your thighs. Your feet should be parallel and shoulder-width apart from each other. Distribute your weight evenly on them and slightly bend your knees. Relax your neck, spine, shoulders, and hips. You can close your eyes for a better meditation session.
On an inhale, imagine a flow of energy moving from the Earth. See how it moves through your feet, spine, and neck and splashes out through the top of your head. Feel how it calms your mind, spreading tranquility all over your body. On the exhale, let the active Sun energy fall down the same way, filling you with warmth and inspiration.
You can visualize these flows in color, for example, blue and orange or white and red. Or these can be water streams. Do it if you feel like devoting the full meditation practice to only relaxing or empowering your body. After several weeks, try doing this exercise with open eyes. This way, you'll gain the superpower of meditating while standing in a queue or going home by bus.
#3 Walking meditation

Walking meditation will help you maintain mental balance, develop mindfulness, and feel more grounded. This practice bridges the peacefulness of sitting meditation and the fuss of our everyday lives. It gets your body to move after a day in the office and helps walk off negative emotions.
Or if you have spent the weekend watching Netflix and tomorrow is Monday, this meditation will help you balance your mood and senses. Since we walk daily, mindful walking doesn't have to be complicated. You only need to walk naturally without slowing down or accelerating your pace. Pay attention to how you do it and notice the things around you.
However, if you quickly lose concentration, try breathwalking. This technique helps you synchronize your breathing cycle with steps. You'll need to inhale for four counts (steps) and exhale for another four. Your brain will be busy counting, and you can return to this exercise every time you catch yourself thinking about dinner or worrying about tomorrow's interview. Start with 10-15 minutes daily and extend this time to an hour or two.
Seated meditation positions (on a chair)
It’s a myth that one can meditate only in the lotus position. Since there's no universal meditation posture, any comfortable position with your back straight will work. Sitting cross-legged isn't a must, so feel free to meditate right at your office desk!
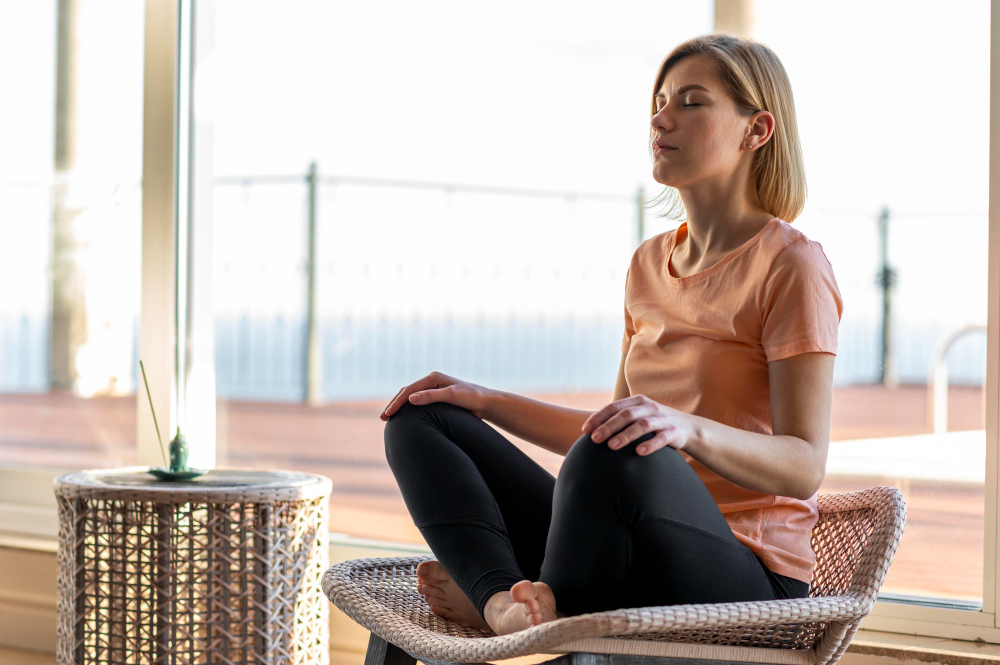
#4 Sitting on the edge of a chair
For this meditation position, you'll need a fixed chair as one on wheels may slightly move and distract you. Sit on the chair’s edge with your feet flat on the floor. Place your hands on your hips, slightly bending your elbows. Or, put your hands on your lap, letting the left palm touch the back of the right hand and putting your thumbs together.
If this pose makes you feel some tension in your shoulders, leave your hands resting on a pillow in the same position. Close your eyes. Now, imagine a source of energy in front of you and smile. Feel its warm light and visualize its healing stream entering your body between your eyebrows.
See how the energy embraces your eyes, removing all tension in them. Then see the light going down to your thymus, heart, lungs, pancreas, stomach, liver, kidneys, and lower abdomen. Feel how it washes away all the toxins, filling each organ with positive vibes. Thank your body for serving you day and night. Slowly open your eyes, move your arms and legs a little, and stand up.
#5 Sitting with pillows
If you struggle to sit without support for long periods, don't reject on-chair meditation. Instead, try to sit on the back of a soft chair and place a pillow behind your back and under your hands. Does it look like your best meditation position now? Let your body answer.
Try pain-reducing mindfulness meditation if you feel pain due to any condition and your doctor allows you to stay in sitting positions. Sit comfortably, close your eyes, and watch your breath for a minute. Feel that you're in the right place and time, and see that this world supports you.
Start lengthening your breathing cycle, extending your exhalation time for two seconds. Now, prolong your inhale and breathe this way for another minute. Focus on the hurting area, and see how it looks with your inner gaze. Now separate the pain and slowly take it out of your body. Try to feel how it hurts outside.
This chair meditation for pain relief may not work immediately. But after some practice, you'll probably be able to reduce the pain and learn to do it faster. You can also try guided meditation in our app, during which your pain can subside.
#6 Sitting on a meditation chair
Tech progress has made it possible to meditate sitting for people having problems with knee joints and hip muscles. The meditation chair will help you sit with an upright spine. You'll find plenty of models and textures that will fit your needs. For example, a lightweight, compact, and low meditation bench is ideal for the kneeling position.
With the floor chair boasting a 90°-to-180° adjustable chair back, you can control your backrest position. Some models allow you to sit in a simpler version of the crossed-legged position. They distribute weight and support your feet, knees, hips, and lower back. They're like cozy armchairs designed for a meditation retreat.
After you find the ideal position in such a chair, close your eyes, calm your breath, and start visualizing. Imagine how the flow of light goes up inside your spine each time you breathe in and downstream as you breathe out. You can add colors and feelings to your meditation. For instance, the upward flow can be yellow and warm, while the opposite stream can be violet and cool.
Sitting meditation poses
It's time for the most popular meditation position–-sitting meditation. You'll be sitting on your hip bones in the three poses described below. Once you feel uncomfortable, feel free to use the meditation cushion or folded blanket. It'll slightly move your hips forward, allowing you to keep the proper alignment without discomfort.
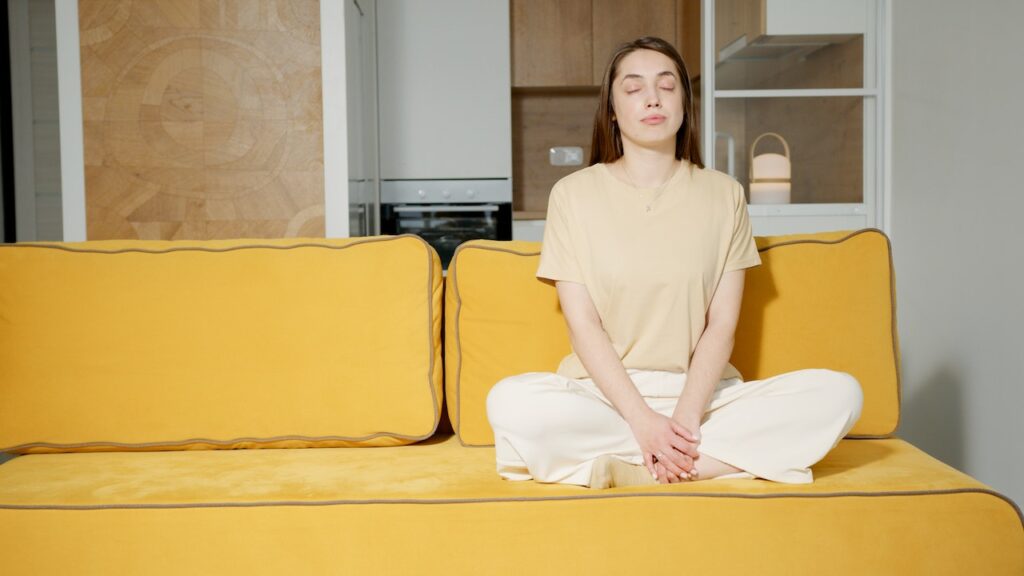
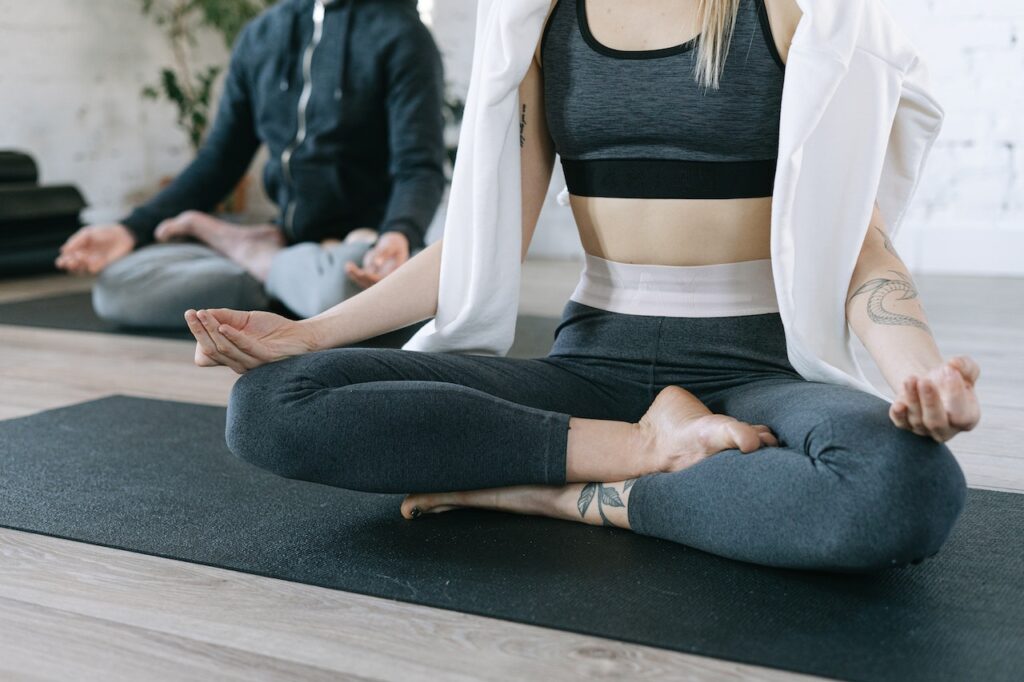
#7 Sitting in the Burmese position
The Burmese position is an easy pose and the simplest among the sitting positions. You need to sit on the ground and bend your legs, leaving each foot resting on the ground. In this pose, your feet touch but don't cross. So this is a good posture if sitting cross-legged bothers you. During the practice, your ankle bones can start hurting, so place them on a yoga mat.
Let your hand rest naturally on your thighs. You can also place a pillow on your lap. Then put your hands on it (one over another) or in any comfortable position. This way, you’ll relax your body, which allows you to alert your mind and maximize the effect. Practice any of the visualizations described above, or choose your best meditation in our app.
#8 Sitting in a quarter lotus or half lotus posture
The quarter lotus is a variation of the lotus pose for beginners. You need to be sitting cross-legged in the calf area. Try the half lotus pose if this posture seems too simple and your hips allow it. Place your left foot on the opposite thigh while your right foot rests on the ground. Or start with the right leg so that only one foot is in the lotus.
However, don't force yourself to try the half lotus if you haven't practiced yoga before. Though this variation of the desired full lotus is much easier, it still requires certain hip flexibility. If your pelvic joints aren't flexible enough yet, the lotus pose can cause knee pain. That's because your knees will have to compensate for the insufficient flexibility of your hip joints.
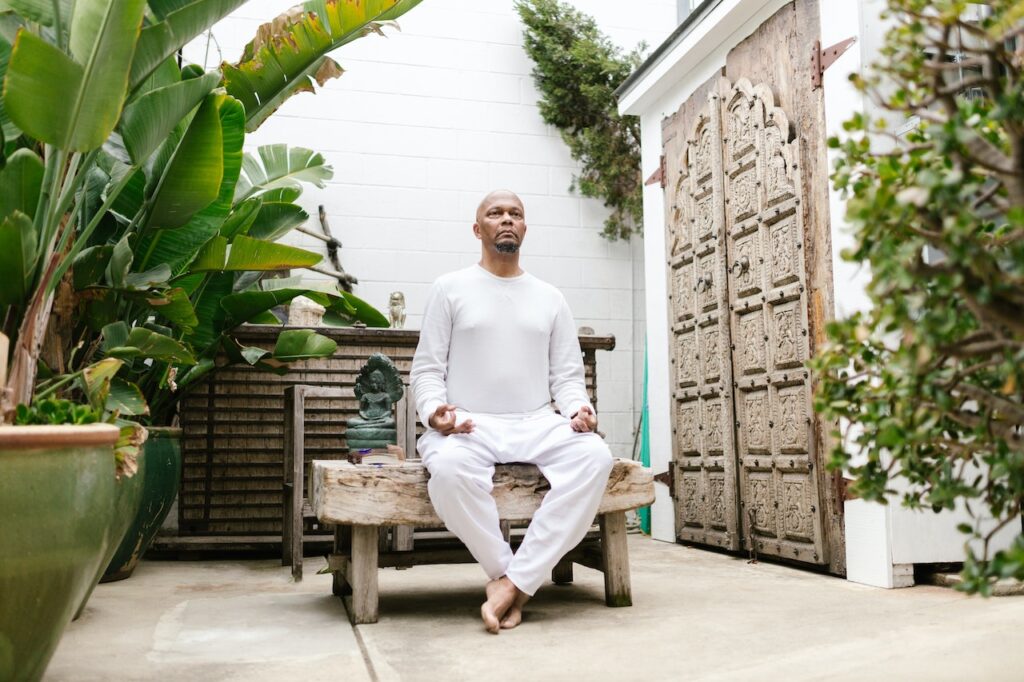
#9 Sitting in the full lotus pose
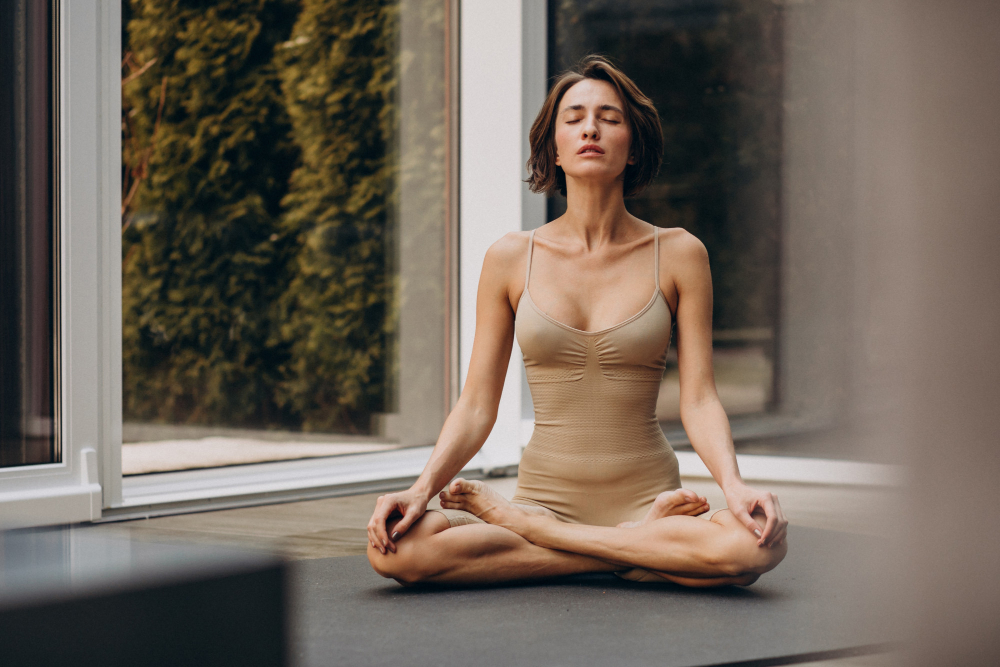
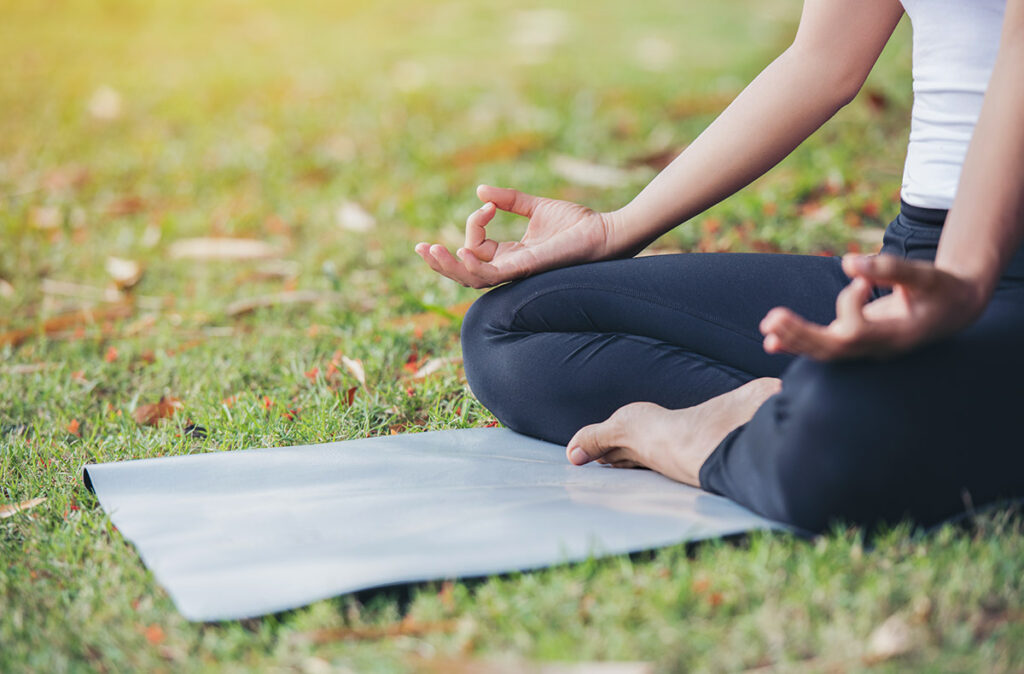
If you can already do the full lotus, it probably means you have at least a couple of years of yoga practice. Padmasana is considered a classic meditation posture; still, only advanced practitioners can stay in the lotus position for minutes. Your crossed legs look like lotus petals as you place each foot on the opposite inner thigh.
According to the Indian yoga manual Hatha Yoga Pradipika, dating back to the 14th century, the lotus pose can destroy all diseases. It improves blood and lymph circulation in your pelvis and spine and stretches your hip, ankle, and knee joints. This pose is believed to bring you self-realization as you practice it regularly. Enhancing it with meditation chants will purify and free your mind, and unite it with a healthier body.
Kneeling meditation positions
Another alternative to seated meditation is to practice kneeling. This meditation posture requires less effort to keep your back straight than sitting with your legs crossed. It doesn't require hip mobility; your knees must be healthy as you'll need to bend them fully. So maybe your best meditation position is one of the three poses below.
#10 Diamond posture (Vajrasana)
Yogis call the diamond pose Vajrasana. Though it's one of the simplest asanas, it can make your body diamond-strong. Another helpful feature of this meditation posture is that you can do it after a meal. As long as their legs allow it, people of any age can perform it. Fold your knees backward and sit on your lower legs. Your soles must face upwards, so try to keep your heels together.
Your buttocks rest on your feet and heels while your thighs are on the top of your calves. Since you’ll sit higher, the hands-on-hip hand position will feel more comfortable, letting your shoulders relax. But if you feel discomfort in your knees, put a soft pillow under your bottom or use yoga props. Now, straighten your back, close your eyes, focus on the present moment, and start meditating.
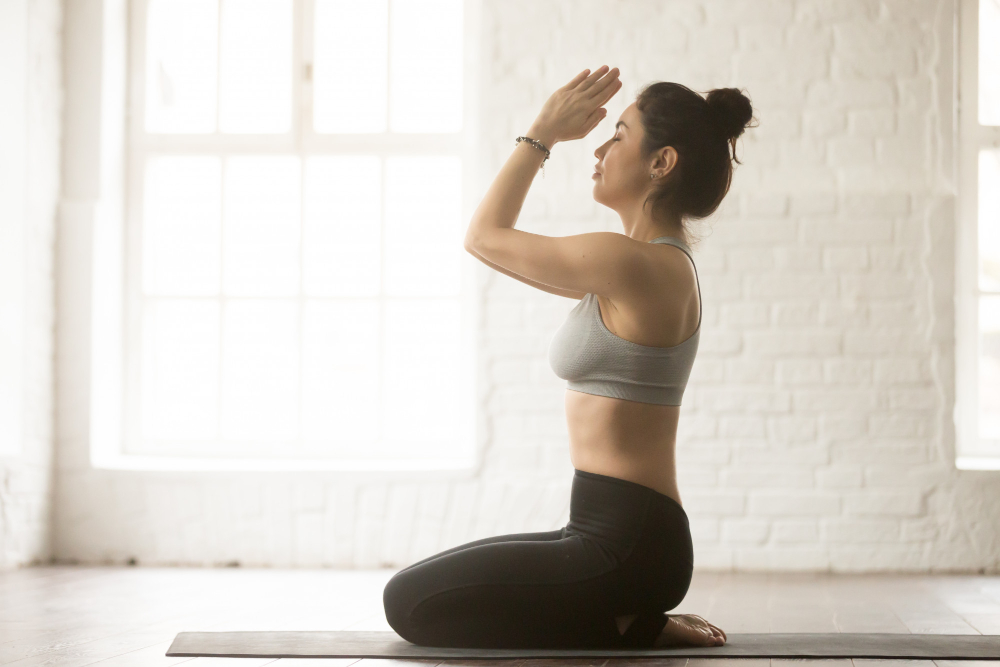
#11 Hero pose (Virasana)
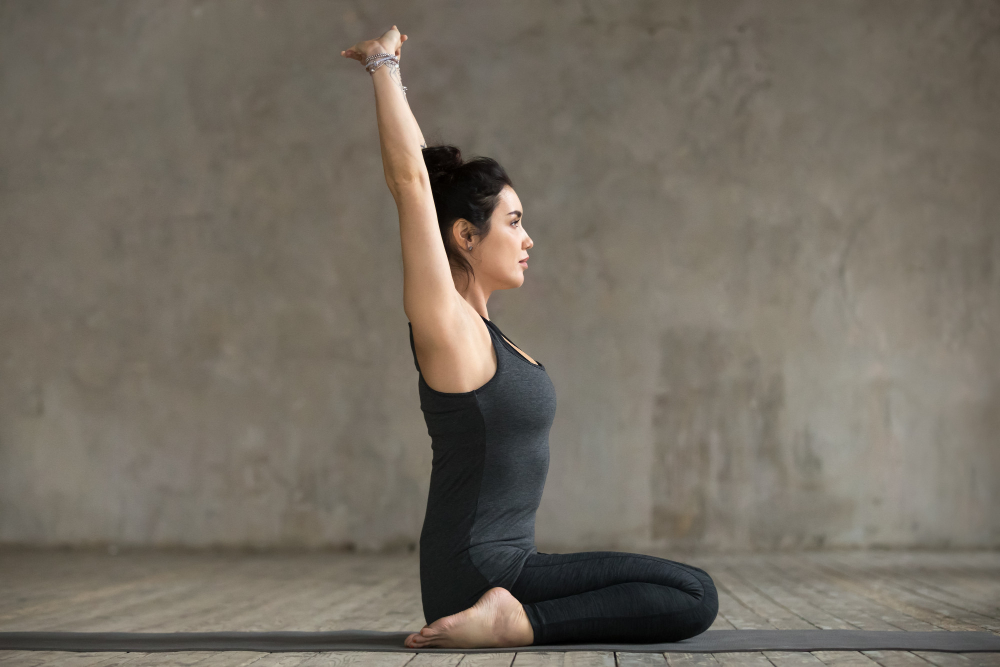
Keeping your heels upwards in the Diamond Pose is challenging, especially if you sit flat on the floor without support. If this is your case, try a more comfortable position for your meditation practice–-move your heels to the sides while bringing your toes together. Your buttocks will now rest on the inner parts of your feet and heels, while your thighs will still cover your calves.
But if you feel like Vajrasana is too simple and your lower legs fall asleep, the Hero pose is something more advanced. After you kneel on the floor, start sliding your feet apart while keeping the inner parts of your knees together. In the end, you should sit between your feet with your thighs parallel to the floor and your calves resting nearby.
You can adjust the flesh of your calves by taking them out from under your hips. Move your torso forward and return it for more comfort in your hip joints. Use yoga blocks or pillows to reduce the load on your knees.
#12 Child’s pose (Balasana)
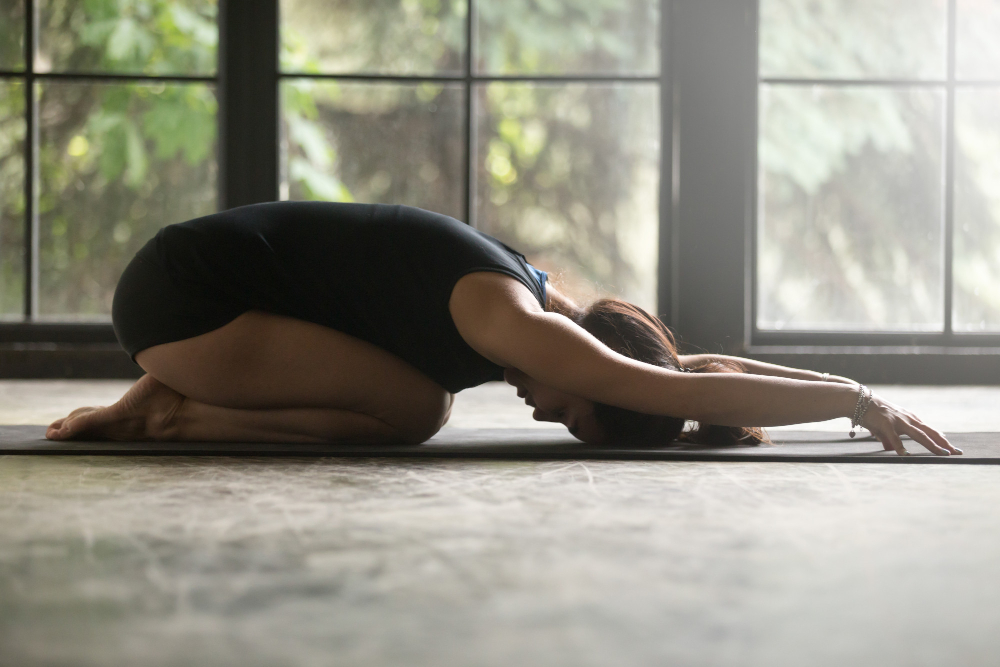
Child’s pose, or Balasana, is often added to the asana sequences to let yogis rest between challenging poses. This is one of the relaxation exercises, so we decided to add it to our list of the top meditation positions. It's like the physical representation of what we call mental balance. So this pose doesn't require any visualization as you get a sense of peace simply from the pose itself.
You need to sit on your heels, which is pretty much the same as the Hero pose. Put your head on the floor, leaving your arms to rest alongside your body. Or you can bring your arms forward to take some pressure off your forehead. Put your palms on the floor or press them together in the namaste hand position.
Spread your knees and place your torso between your hips if you like. Feel how your lower back stretches every time you breathe in. With each next inhale, you will have more space for fresh air. Stay in this pose for 30 seconds to several minutes and come out slowly, returning to an upright position.
Lying-down meditation poses
We've arrived at the most popular of the meditation positions–-the lying-down one. If you're a beginner who thinks sitting in the lotus pose for hours is the only way to make your meditation practice effective, that's a myth. Start your practice with horizontal positions and smooth your meditating experience with one of these three poses.
#13 Corpse pose (Savasana)
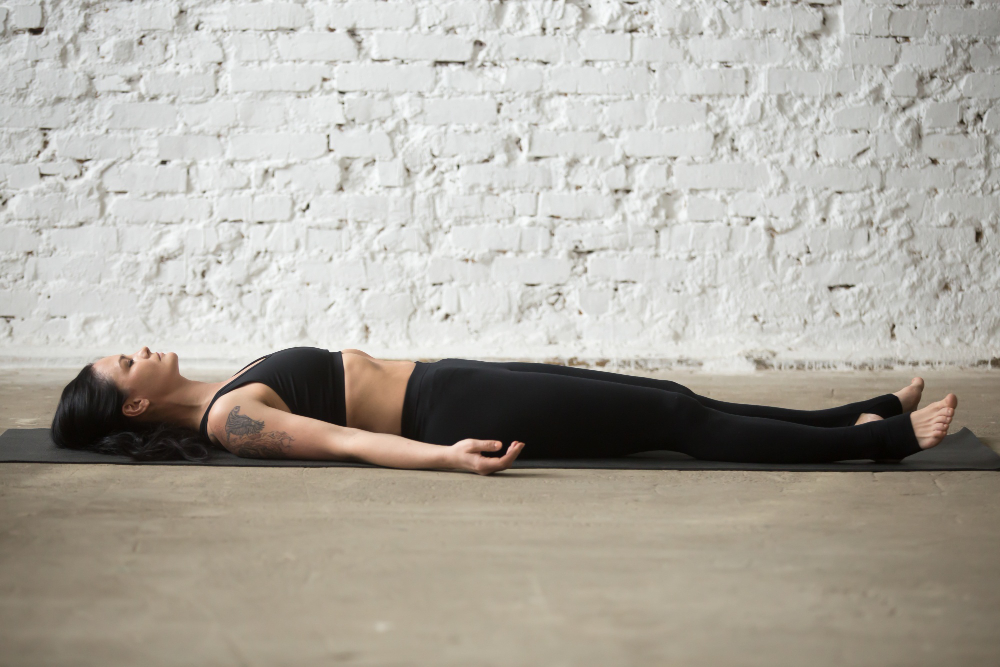
You've probably heard about the Corpse yoga position before, and now it's time to try it. Put a yoga mat on the floor and lie down on it with your face up. Spread your legs shoulder-width apart and place your arms along your body, but avoid touching your hips. Put a little cushion under your neck to support your head as you lie flat on the floor.
This position is ideal for yogic sleep or Yoga Nidra practice, which actually doesn't include falling asleep. But it's okay if you end this Savasana pose exercise by sleeping. That's because you'll need to concentrate on relaxing all your body parts, and relaxation promotes sound sleep. So this is one of the best meditation positions for treating sleeping disorders.
Start with your legs, imagining a warm wave of energy embracing your feet, lower legs, knees, hips, abdomen, hands, elbows, shoulders, chest, neck, head, and face. It's better to practice this exercise lying on the floor, so cover yourself with a blanket so as not to get cold during the visualization. Still, if you plan to fall asleep, meditate right in your bed.
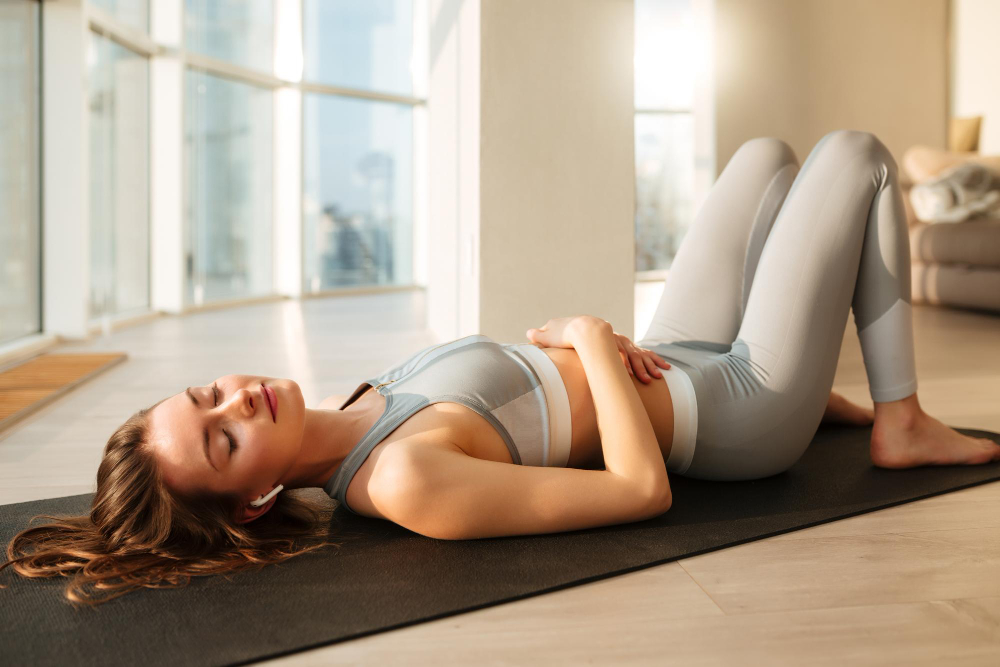
#14 Lying with hands on your heart and belly
Once you feel your hands detach in Savasana, try to place your left hand on your heart and put your right hand on your abdomen. Leave your feet resting on the floor, hip-width apart. Calm your thoughts, let go of negative feelings, and focus on your breath. Next, we'll try belly breathing.
You'll need to inhale, extending your lower abdomen only without moving your chest. Your hands will help you control this. At first, you may feel a lack of oxygen and even a slight panic, but be persistent and go on. Imagine how your belly enlarges in all directions to get as much air as possible with each inhale.
See how it stretches not only upward under your palm but also backward and to the sides. With your other hand, try to stop your chest from rising as you inhale. After a couple of minutes, you'll feel the tranquility going through your body. Start breathing naturally after 3-5 minutes and slowly turn to your side. Then sit for a while, and start standing up slowly.
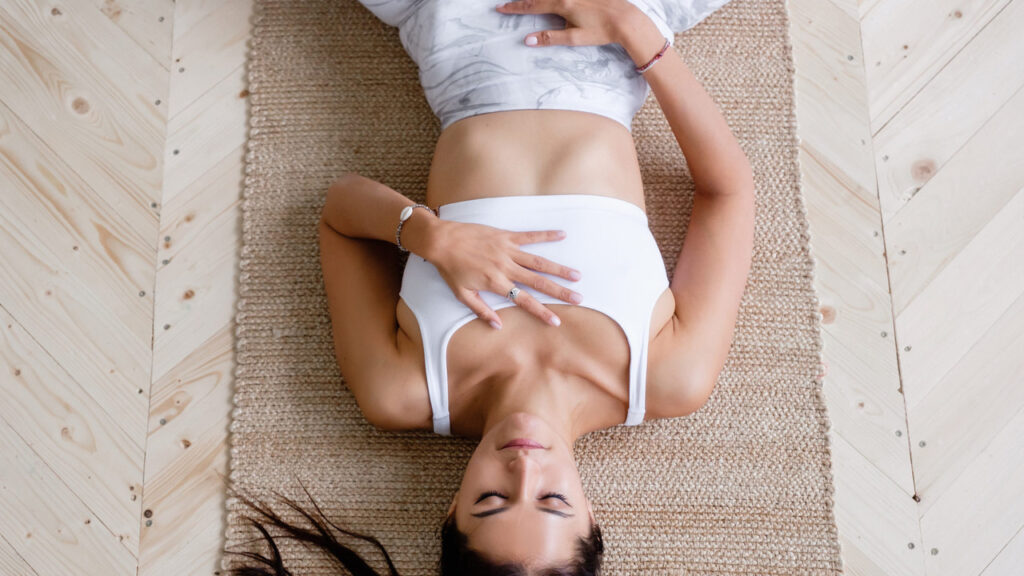
#15 Lying with crossed legs and hands on your belly
Try this tip-pose if you don't have a blanket for your Savasana practice. When you cross your legs in the ankle area and put your hands on your belly, one over the other, your body will keep the warmth. The benefit of this meditation position is that it gives you some support as your arms and legs feel attached to something.
So for people with depression feeling abandoned and stressed, this exercise can help them sense the connection to their bodies. Watching how your hands move together with your breathing would be great. Focus on them going up and down, filling your body with healing energy and releasing toxins and negative emotions. Keep practicing for at least several minutes and slowly start moving your hands and legs before standing up.
BONUS: 7 things to check before your meditation practice starts
Do you prefer the sitting meditation position in the half lotus on a gym mat, or do you like to fall asleep when you meditate lying down? If you're new to this practice, checking several nuances each time you start will be helpful. This way, you'll teach your body how to get ready for the exercise, maximizing the effect on your mind. Below, we share the seven aspects of your meditation position that you need to check.
1. Meditation posture
Though it would be great to make your meditation practice a regular habit, practicing in the same meditation position is not obligatory every day. Your physical condition, emotional state, mood, weather, and life circumstances can impact your plans, and that's okay. Just read all the instructions on performing the exercise you choose each day. Prepare the accessories and reserve half an hour of do-not-disturb time.
2. Keep your back straight
In most meditation poses, your back should be straight to let your blood and energy flow through smoothly. Imagine that someone holds your head crown and slightly pulls you up, gently elongating your spine. The challenge is to keep it straight without muscle tension. In the beginning, you'll need to constantly control your back and straighten it every time you start stooping.
3. Relax your hands
Your hand position impacts your meditation practice too, because if you place your arms uncomfortably, they'll bother you throughout the practice. If you meditate while sitting, resting your palms on your thighs while slightly bending your elbows is probably the most straightforward option. If you stand, let your arms hang without tension or put your hands on your belly to feel how you breathe.
4. Straighten your shoulders
Keeping your lower and upper back straight is only part of the challenge. If your shoulders turn inward, this won't let your heart center open and will prevent you from breathing correctly. Still, ensure you don't raise your shoulders, creating extra tension. Eventually, you need to straighten, lower, and relax them.
5. Relax your face muscles
Unprocessed negative thoughts and stress stay in our bodies, tensing various muscles. Since we often hide emotions to keep our faces, part of this tension remains in our faces. You may not even notice when the corners of your mouth lower and wrinkles of anger appear. The simplest way to relax your face is to try a subtle smile. It also stimulates the production of anti-stress hormones, improving your mood.
6. Stick your tongue to the roof of your mouth
There's also lots of tension in our jaws due to anxiety and stress. It makes some people grind their teeth at night and clench their jaws, resulting in pain and damaged teeth. Most yoga poses require practitioners to touch their mouth roofs with their tongues. This streamlines the energy flow and relaxes your jaw, so use this tip for your meditation positions.
7. Close your eyes
If you’re just beginning your meditation journey, we recommend choosing the meditation posture with your eyes closed. It'll allow you to concentrate on inner processes, letting go of everything around you. Avoid squeezing your eyes and squinting. Close them gently and keep the internal and facial muscles relaxed. With time, you may train yourself to turn your attention inwards with open eyes if you like. And, of course, you can't practice walking meditation with your eyes
Find your best meditation practice with Eleviate
Whether you're a fan of walking meditation that boosts your energy level or find the Corpse pose the only comfortable posture for meditation, it's essential to make your practice a regular habit. Eleviate is here to help organize your everyday life with personalized well-being programs. Set your schedule and never miss your meditation session.
However, Eleviate can do even more. Download this app to leverage the helpful nutrition, fitness, and mental health content. Qualified therapists, certified trainers, and famous authors share their experiences to help you reconsider your habits and change your daily routines. So, find your best meditation and so much more with Eleviate.